
In the first part, we talk about how you can access Dynamo from Revit, explore the Dynamo interface, node, and connect nodes. In this tutorial, you will see how you can access Revit elements and modify them. This tutorial is a simple script. We will see that a Dynamo script doesn’t need to be complicated. Even a simple script can help.
Case Scenario
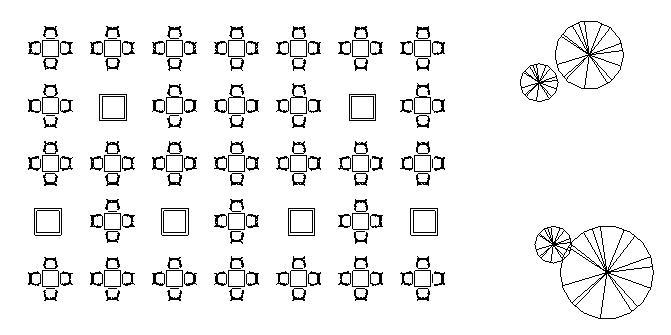
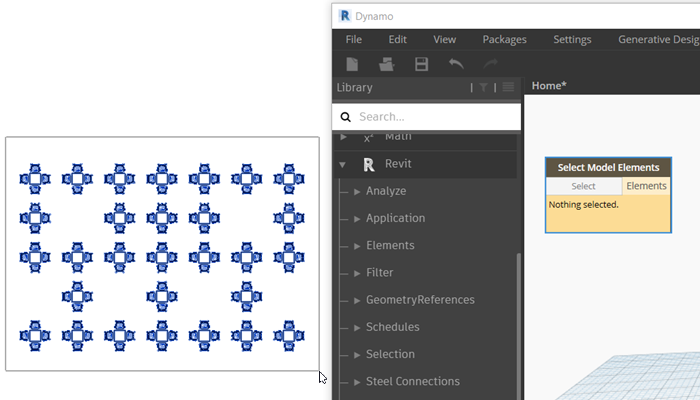
Let’s see the scenario we have here. We have a table layout, and we want to rotate all tables 45deg at each base point. We don’t have a rotation angle parameter, and we can’t use rotate tool. Rotate tool will rotate all elements at once on a single base point. In some cases, we can delete the elements, rotate one instance then use the array tool. But not today. The tables’ positions are random. There is no out-of-the-box Revit to do it, so we are going to use Dynamo.
Hiding Elements
The problem with selecting objects with Dynamo is you need to select the elements once. You can’t pick multiple elements repeatedly using the SHIFT key or filter the selection in Revit. Yes, of course, you can filter elements using a script, but we won’t cover it now.
So you need to make Revit won’t be able to select the elements when we run the script. The easiest way to do it is to hide the elements.
Select the elements near the elements that you want to rotate, but you want to exclude them. Press HH to temporarily hide them. You can quickly unhide them by pressing HR.
Revit Categories
Now let’s open Dynamo from the Manage tab, Visual Programming panel.
Create a new file.
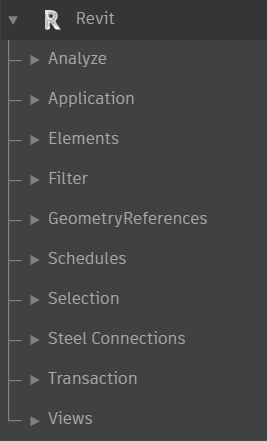
Expand the Revit category in the Dynamo Library. Notice that you can find all Revit-related nodes here.
Selecting Elements in Dynamo
There are many ways to select elements in Revit. In this tutorial, we are going to select the elements manually.
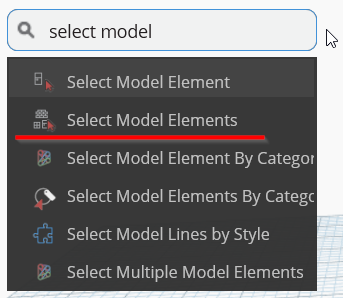
Find the Select Model Elements node under the Selection sub-category. You can also use the search tool. Right-click on the empty area on your workspace, then type the node name. You don’t have to type the exact name, so it is useful to know what you want to do but don’t know the exact node name.
The node has a button in the node. Click to activate selection mode. Now move to Revit and make a window selection to select the elements.
Hint: It is easier if you move the Dynamo window to allow you to see the elements.
After selecting the elements, you can see the node lists all elements ID you selected before.

Rotating the Elements
You can rotate the selected elements using the SetRotation node. Find the node using the search tool.
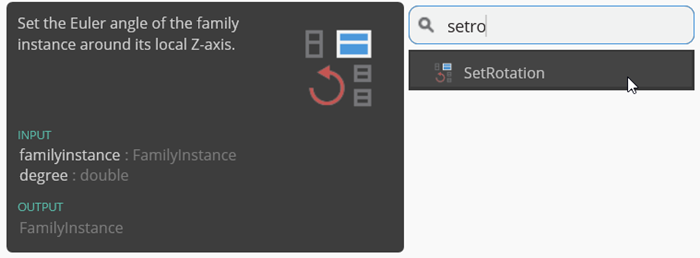
SetRotation requires two inputs: the elements to rotate and the rotation angle. We already have the elements, and now we need one more node to define the rotation angle.
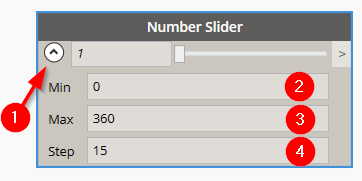
Add the Number Slider node. The number slider provides a number input, but instead of typing the value, you can use the slider to adjust the value.
Let’s configure this slider. Click the arrow button on the left side (1). The node expands and shows you more options. Set the minimum value to 0 (2) and the maximum value to 360 (3). Because the full rotation is 360, then that would be our maximum value. Change the step to 15.
Now you can connect the nodes using wires.
Try to move the slider to change the rotation angle. If you set the script to run automatically, you should see the changes in Revit immediately. If you set it to run manually, don’t forget to click run.

There you go, now you know how to interact with elements in Revit using Dynamo!
Video Guide
Chapter Summary
There are many ways to interact with Revit elements. In this part, we select them using manual selection. We will see how you can select elements by categories in the next tutorial.